Understanding Vapor Barrier Installation
When it comes to maintaining the integrity of your home, especially in areas like crawl spaces and basements, understanding the Vapor Barrier Installation process is essential. Vapor barriers serve as a crucial line of defense against moisture, protecting structural elements and improving overall air quality. In this guide, we will delve into the intricacies of vapor barrier installation, explore its benefits, and provide step-by-step instructions for a successful setup.
What is a Vapor Barrier?
A vapor barrier is a protective material, often made of polyethylene or foil, designed to prevent moisture in the ground from infiltrating a structure. By creating a barrier between the ground and the indoor environment, it limits the amount of moisture that can enter the crawl space or basement. This is crucial because excess moisture can lead to a host of problems, including mold growth, wood rot, and structural damage.
Benefits of Vapor Barrier Installation
- Mold Prevention: One of the primary benefits of installing a vapor barrier is the reduction of mold growth. Mold thrives in damp conditions; by keeping the crawl space dry, you significantly decrease the chances of mold proliferation.
- Improved Indoor Air Quality: A vapor barrier neutralizes musty odors and reduces allergens, resulting in cleaner, fresher air throughout the home.
- Energy Efficiency: By preventing moisture infiltration and maintaining consistent humidity levels, vapor barriers help improve your home’s energy efficiency. This can lead to lower heating and cooling costs.
- Structural Protection: Vapor barriers help prolong the life of your home’s foundation and structural elements by preventing moisture-related damages.
Common Misconceptions about Vapor Barriers
Despite their advantages, misconceptions about vapor barriers abound. Some individuals believe that vapor barriers completely waterproof the space, but while they significantly reduce moisture, they do not eliminate it entirely. Another common myth is that vapor barriers can trap moisture inside, which can actually occur if they are incorrectly installed; therefore, proper installation is essential.
Preparing for Vapor Barrier Installation
Assessing Crawl Space Conditions
Before beginning installation, it is vital to assess the current conditions of your crawl space. Check for any signs of moisture intrusion, insufficient drainage, or leaks that might compromise the effectiveness of the vapor barrier. Address any issues conclusively before installing the vapor barrier to ensure a successful outcome.
Gathering Required Materials and Tools
Having the right materials and tools on hand will make the installation process much smoother. Key materials include:
- Vapor barrier sheeting (at least 6 mil thick)
- Sealant or tape
- Utility knife or scissors
- Measuring tape
- Stapler (optional)
- Protective gear (mask and gloves)
Ensure you also have safety gear on hand, including gloves and a mask, to protect against dust and potential mold spores during the installation process.
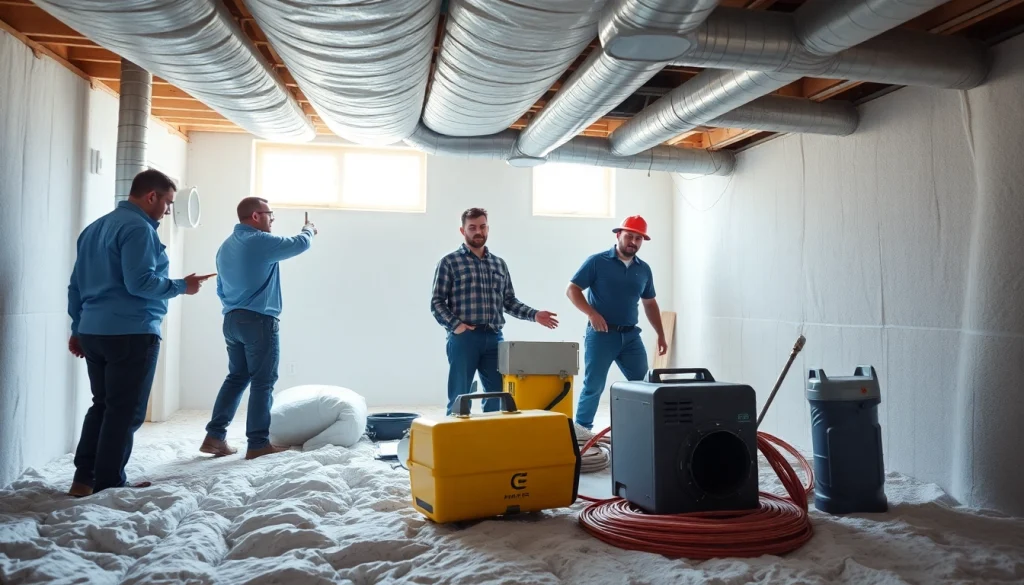
Safety Precautions During Installation
Safety is paramount when working in crawl spaces. Ensure the area is adequately ventilated to prevent inhalation of any hazardous spores or particles. Always wear protective gear and be cautious of unstable situations in confined spaces. If you encounter severe mold or structural damage, it may be wise to consult a professional before proceeding with installation.
Steps for Effective Vapor Barrier Installation
Measuring and Cutting the Vapor Barrier
To start, measure the dimensions of your crawl space. Accurate measurements are critical for effective coverage. Cut the vapor barrier sheeting to size, allowing for extra material to overlap at the seams, which aids in the sealing process. Aim to cover the entire ground surface, extending walls if applicable.
Securing the Vapor Barrier
Once the sheeting is in place, secure it to the ground using either adhesive or staples, depending on the surface you’re working with. Be sure to smooth out any wrinkles or bubbles to ensure proper adhesion. A well-secured vapor barrier not only performs better but also lasts longer.
Ensuring Proper Sealing and Overlap
Proper sealing is crucial for vapor barrier effectiveness. Seal the edges and any overlaps with waterproof tape or sealant. The seams should be overlapped by at least 12 inches to create an effective seal. Regularly check these seals for deterioration, especially after heavy rain or flooding.
Post-Installation Considerations
Maintaining the Vapor Barrier
Proper maintenance is essential to ensure that your vapor barrier continues to function effectively over time. Routine inspections can help identify any wear or damage early on. Look for signs of moisture, mold, or tears in the barrier, and take immediate action if any are discovered.
Monitoring Humidity Levels
Maintaining an ideal humidity level in your crawl space is essential for preventing mold growth. Use a hygrometer to monitor the humidity levels regularly. Ideally, humidity should be kept between 30% and 50%. If humidity levels exceed this range, consider using a dehumidifier or improving ventilation.
Signs of Damage and Repair
Be vigilant for signs of damage, such as mold growth, damp odors, or obvious tears in the barrier. If you notice signs of failure, attend to the issue quickly. Repairs can often be as simple as re-sealing or reapplying new sections of vapor barrier. For extensive damage, consultation with a professional may be necessary.
Frequently Asked Questions about Vapor Barrier Installation
How long does a vapor barrier last?
A properly installed vapor barrier can last anywhere from 10 to 20 years, depending on the materials used and environmental conditions. Regular inspections are essential to ensure its longevity.
Can I install a vapor barrier myself?
Yes, homeowners can install vapor barriers themselves, provided they have the right tools and follow safety guidelines. However, consulting with a professional can ensure proper installation and effectiveness.
What materials are best for vapor barriers?
Polyethylene sheeting is the most common material for vapor barriers, typically at least 6 mil thick. Foil-backed barriers offer additional insulation properties, acting as both vapor and thermal barriers.
When should I consider a vapor barrier?
If your home has a crawl space, especially in moist climates or areas prone to flooding, then installing a vapor barrier is highly recommended to prevent moisture issues and protect your home’s structural integrity.
Does a vapor barrier prevent all moisture?
While a vapor barrier significantly reduces moisture intrusion, it does not eliminate it completely. Proper ventilation and other moisture management strategies should accompany its use.